
Installation
To configure the seQura extension, follow the standard Magento 2 installation process by running the following commands:
- Run the command:
composer require sequra/magento2-core- Enable the seQura Core module:
bin/magento module:enable Sequra_CoreHyvä Themes
If your store uses Hyvä themes, execute the following steps:
- Install the Hyvä Compatibility modules. Stable modules can be installed using Composer:
- Install via Composer:
composer require sequra/magento2-sequra-core-hyva-compat:2.0.0- Enable the module:
bin/magento module:enable Hyva_CompatModuleFallback Hyva_SequraCore
bin/magento setup:upgrade
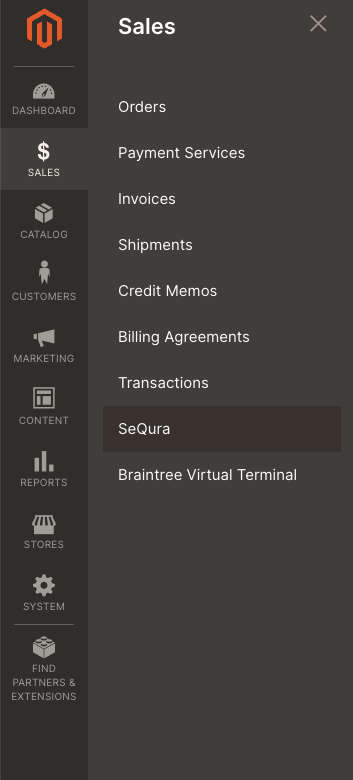
After installation, you can access the seQura configuration page at Sales → SeQura:
Updated 8 months ago
Did this page help you?